
Installing Software
Server Requirements
Registering and Adding the Server
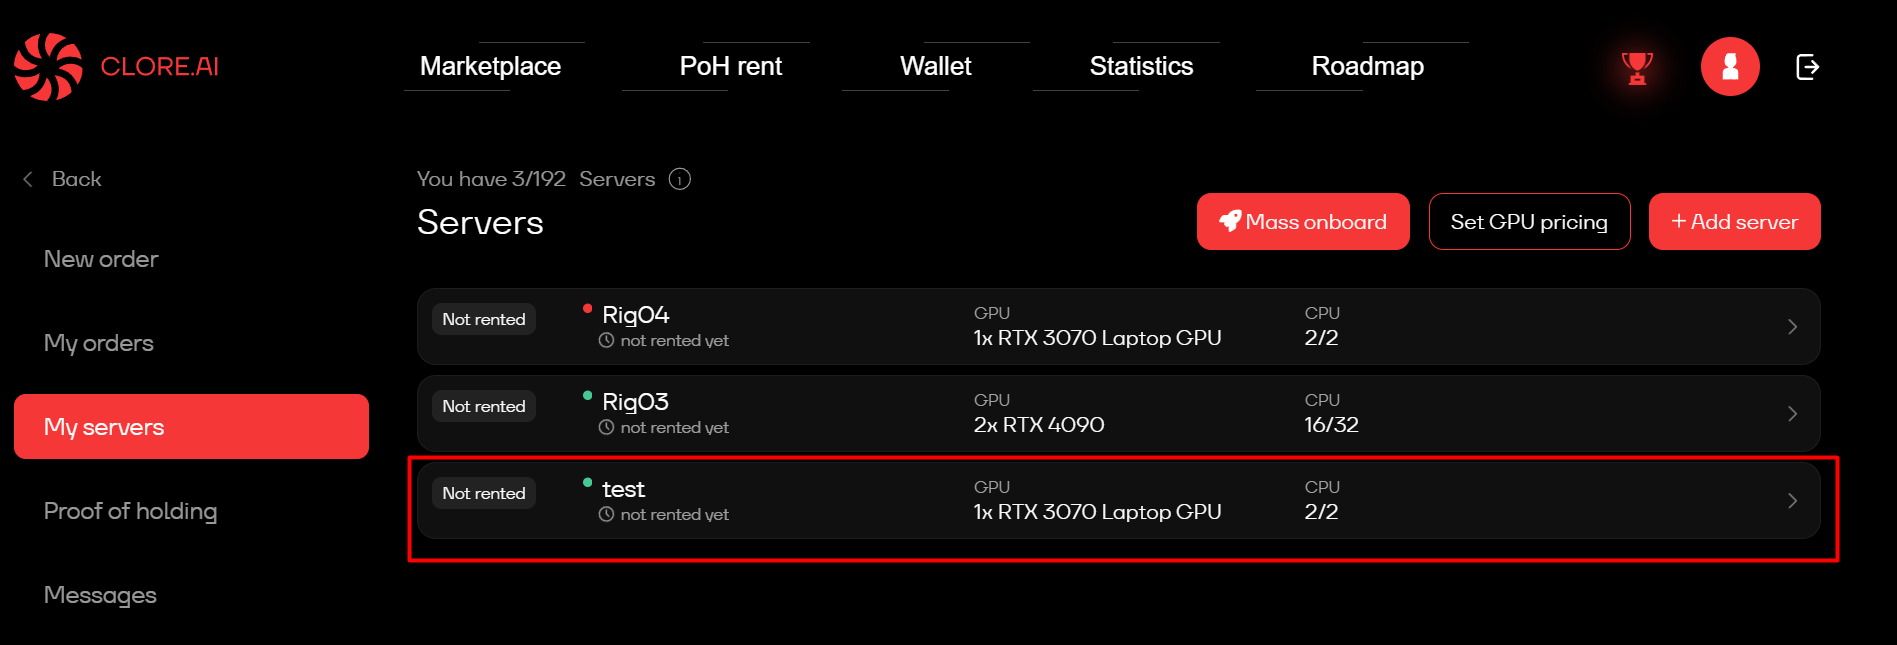
1. Go to the website, register, log in, and navigate to the marketplace:

2. Adding a Server: There are two ways to add a server:


3. HiveOS Setup:


4. HiveOS Update: Run the command:
If HiveOS Disk Space Issues Arise: If there's less free space on the disk than expected after installation or update (e.g., only 20 GB free on a 512 GB disk), execute the following:
5. Run Updates in Sequence:
6. Update Necessary Drivers:
7. Reboot the Rig:
8. Switch to Superuser Mode:
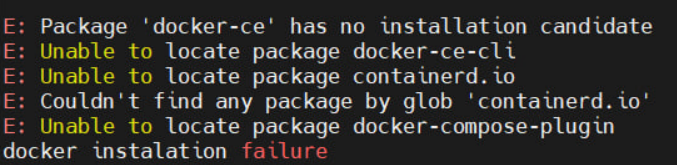
9. Install the Software:

10. Activate the Server:
11. Finalize reboot:
How to Disable All Installed Services
How to Re-enable Services
Removing the Previously Installed Token
Last updated
Was this helpful?