Installng Clore Hosting Software
Server Requirements
The server (or rig – these terms are nearly interchangeable in this context) must be equipped with NVIDIA GPUs, as AMD is currently not supported. The minimum required disk space is 32 GB; for reliability, it's recommended to use an SSD instead of a flash drive. A minimum of 8 GB of RAM is required, but 16 GB will provide greater stability. As for the CPU, the system can work with a Celeron on a 1151 socket, but for more efficient performance, consider using a CPU like the i7-6700.
Before proceeding, it is highly recommended to disable any overclocking, including the Power Limit (PL), and reset the GPUs to factory settings. Afterward, stress-test the system for stability by, for example, testing the GPUs using the kawpow algorithm and loading the CPU. Monitor temperatures and ensure everything is running stably.
If the system operates stably and temperatures are within a safe range, continue to the next step in the instructions. If temperatures are too high or errors occur, address these issues first – for example, by improving cooling or troubleshooting – and ensure stable operation before proceeding.
Registering and Adding the Server
1. Go to the website, register, log in, and navigate to the marketplace:

2. Adding a Server: There are two ways to add a server:
Method 1: Go to the "My Servers" section and click the "+Add Server" button. Enter the server's name and click "Next."

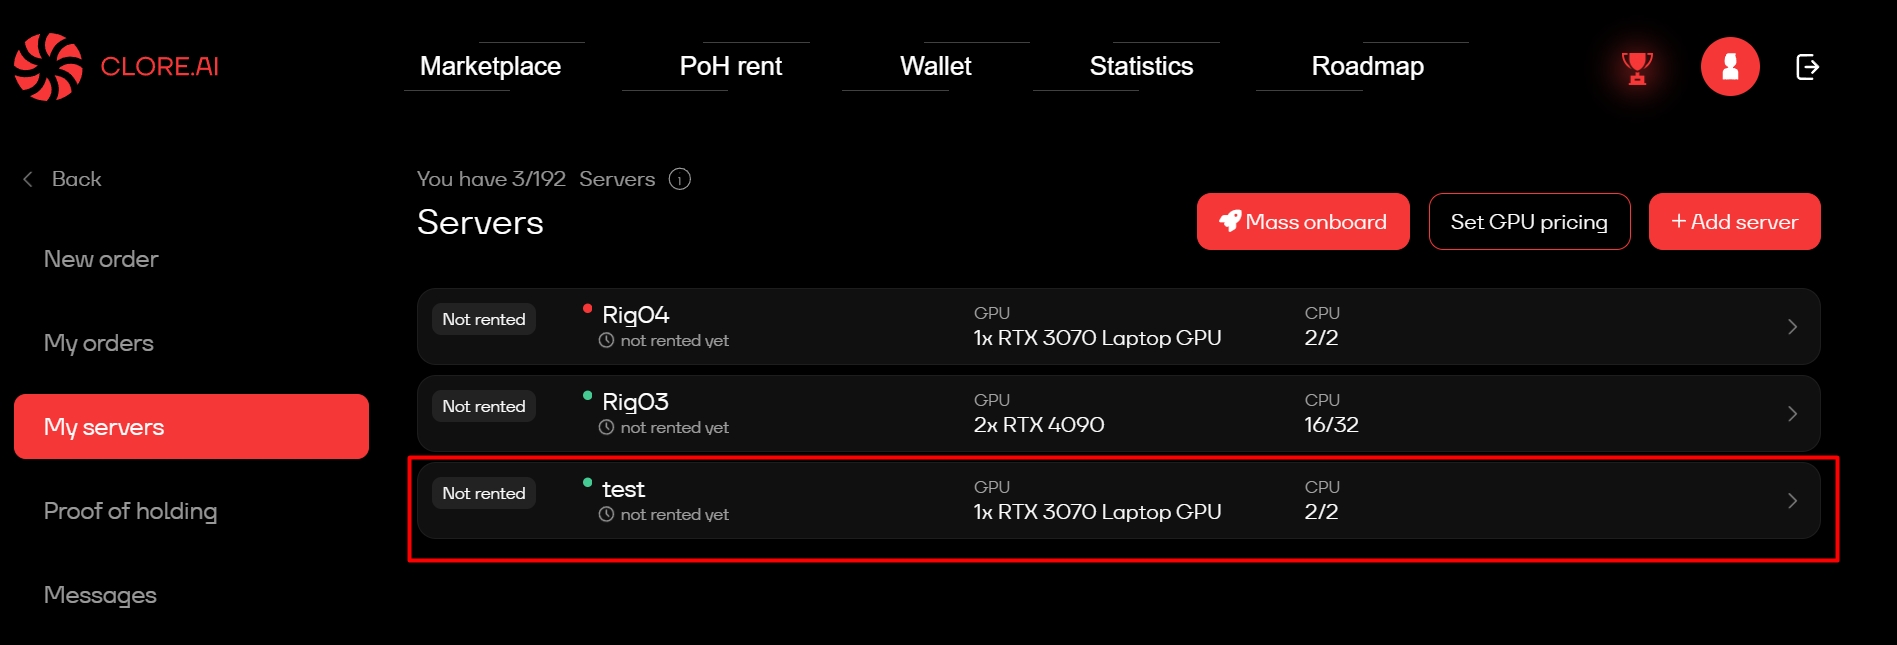
After adding, the server will be marked with a red circle, meaning it is inactive. We will activate it later, but for now, click on the created server to obtain a key – you will need it later.

3. HiveOS Setup:
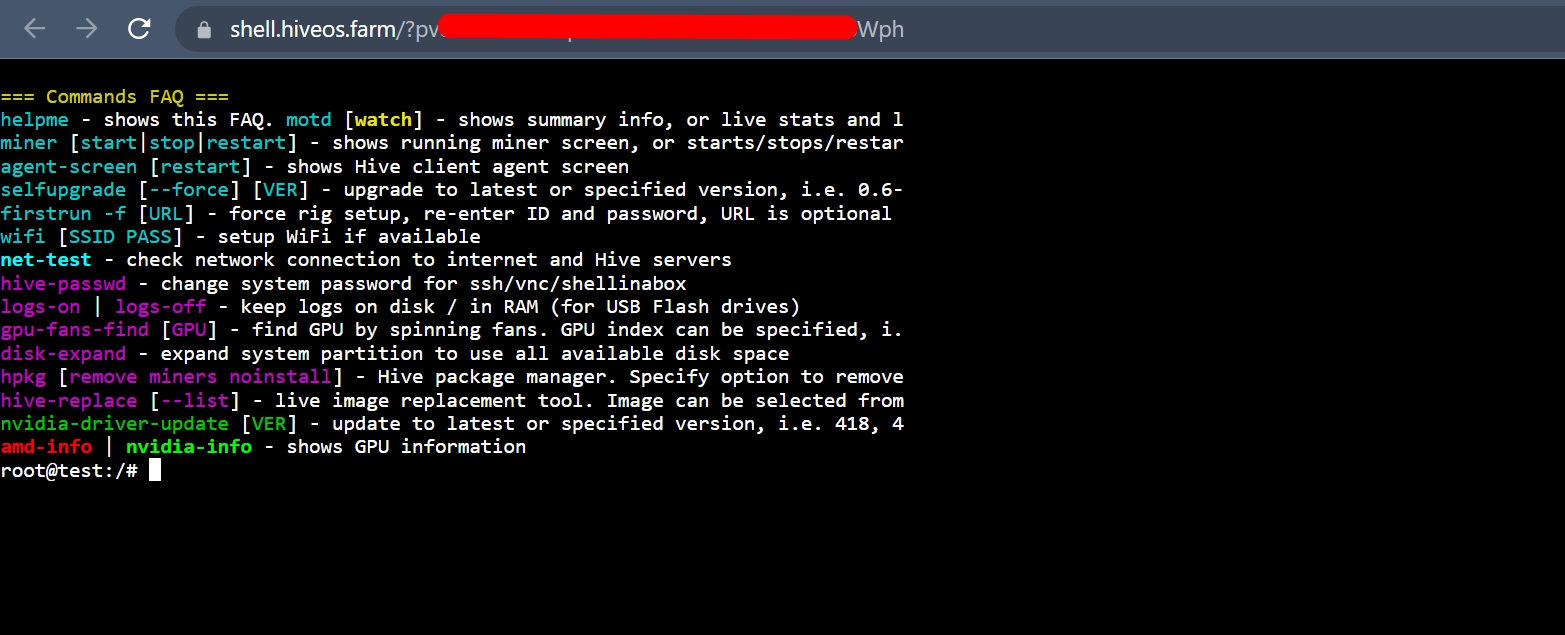
Choose the rig and open Shell. For those who rarely use HiveOS, images have been added below for clarity.


4. HiveOS Update: Run the command:
If HiveOS Disk Space Issues Arise: If there's less free space on the disk than expected after installation or update (e.g., only 20 GB free on a 512 GB disk), execute the following:
For M.2:
For SATA:
5. Run Updates in Sequence:
6. Update Necessary Drivers:
7. Reboot the Rig:
8. Switch to Superuser Mode:
9. Install the Software:
If the system reports that git is missing, install it with:
Then retry the installation.
If you encounter a gpg error, use:


Afterward, rerun the installation.
10. Activate the Server:
Replace <token> with the key obtained earlier.
If an error indicates a missing folder or file, the installation likely didn’t complete correctly, and the clore-hosting folder was not created. In this case, repeat the installation.
11. Finalize reboot:
Restart the rig, wait a moment, and refresh the marketplace page. If everything was set up correctly, the server will be marked with a green circle.

How to Disable All Installed Services
If you need to disable everything previously installed:
Disable the services:
Reboot the system:
How to Re-enable Services
To re-enable the services:
Enable the services:
Reboot the system:
Removing the Previously Installed Token
To delete the token, use the command:
The file containing the token is located at:
Last updated
Was this helpful?
